Avoiding Injuries while Shoveling Snow in 5 Simple Steps
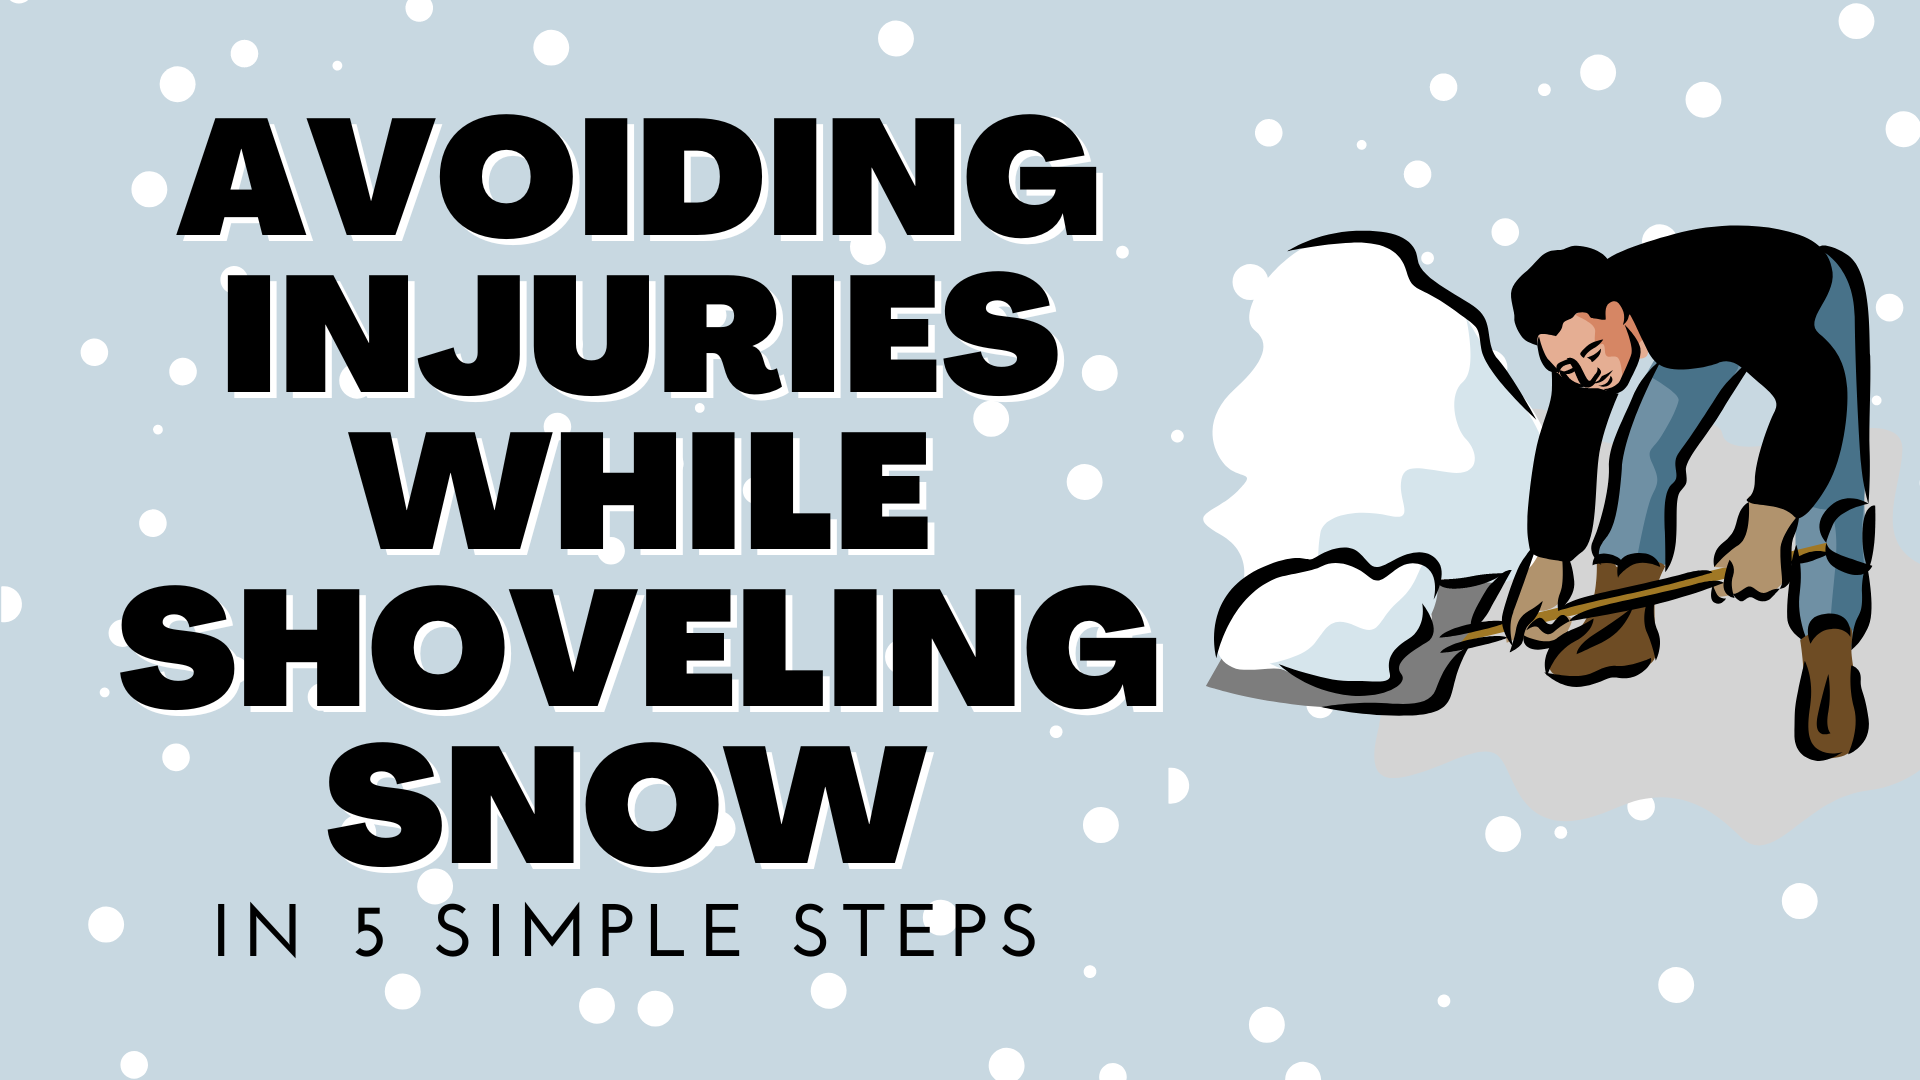
Keep the shovel handle down and ahead of you. This is really about the position of the shovel. If you have the angle too steep it can lead to injuries in your neck, shoulder, low back, and even knees. You want to make sure to take small amounts of snow to move and not overdo […]
5 Helpful Tips to Avoid Injuries while Shoveling Snow
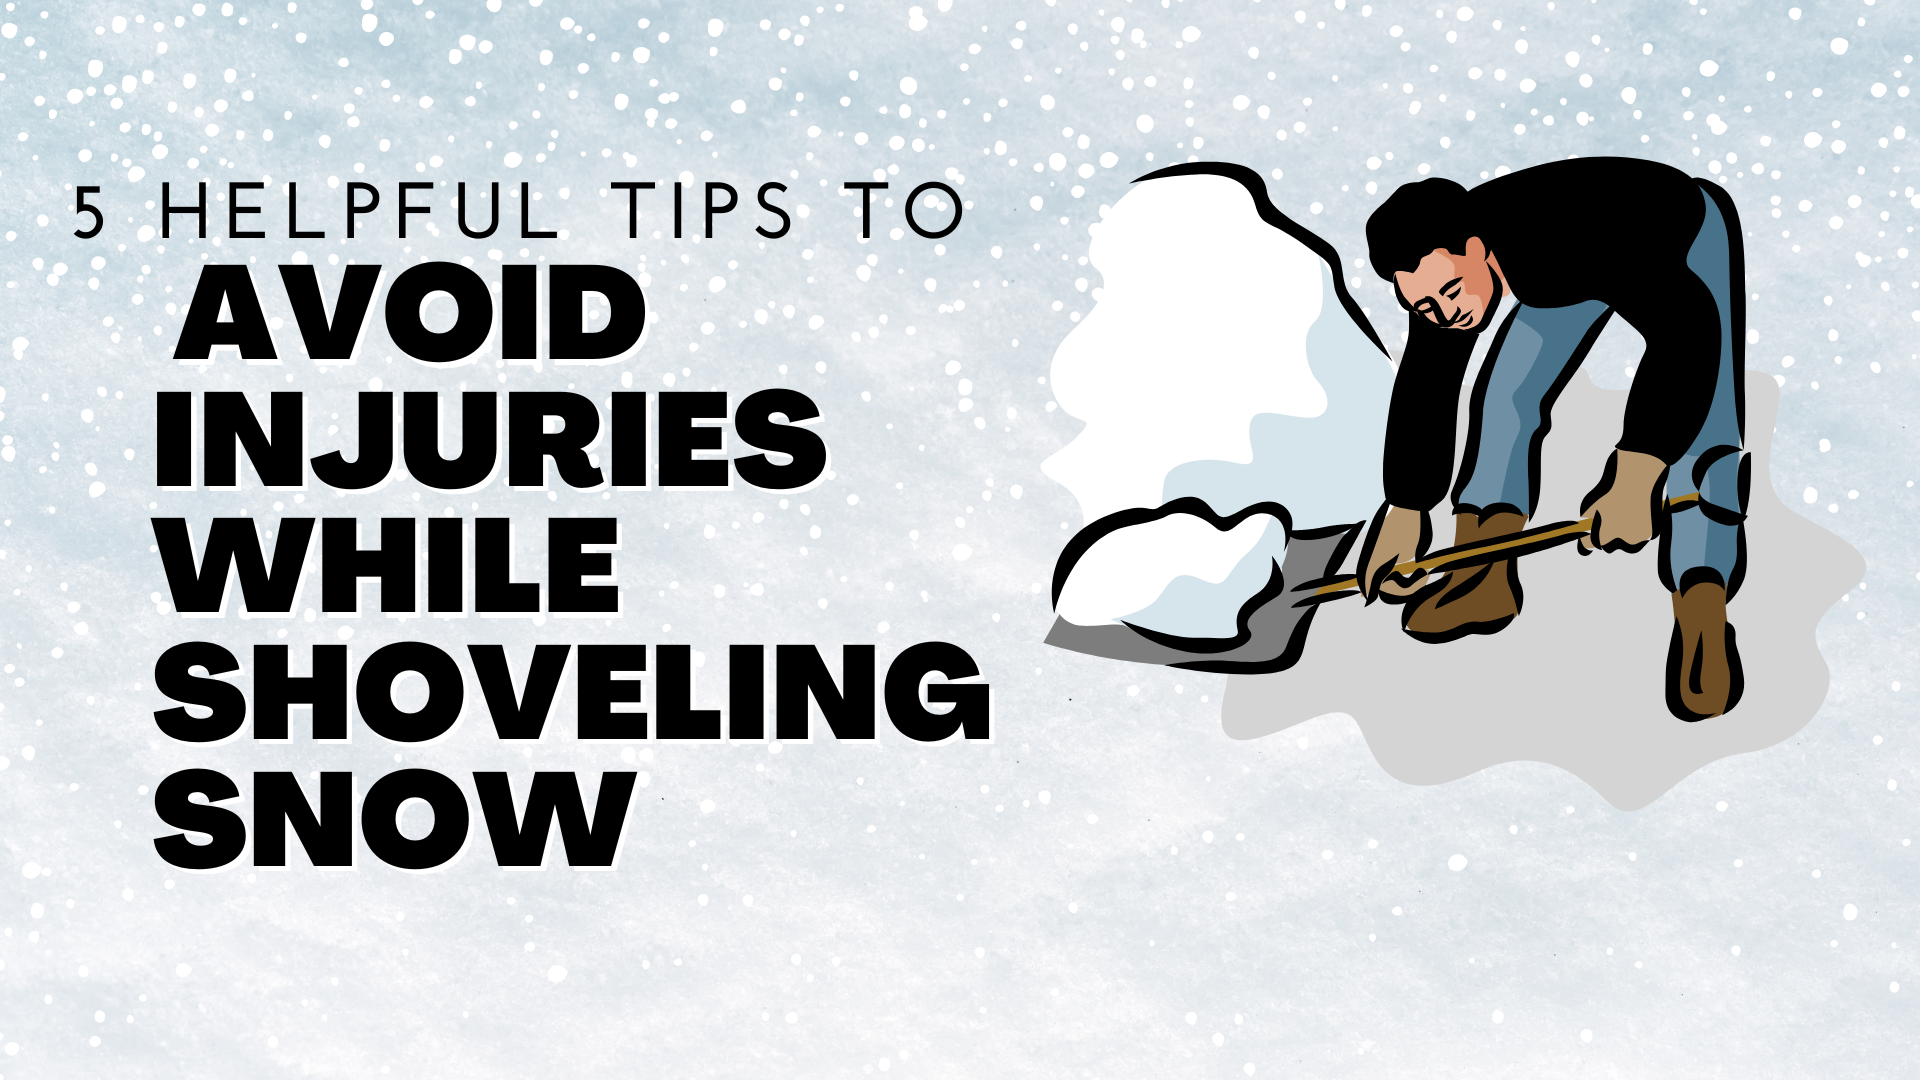
Tis the season for snow and ice! While we typically enjoy the time spent outside in the winter, there are certain risks to take into account during these colder months. Back strain is one of the most common injuries that people face during snow removal. This is because shoveling involves heavy lifting and bending over […]
Ways To Express Gratitude for Great Health This Thanksgiving

5 Ways to Show Gratitude for Health – Ridgefieldchiropractic

Would you believe that a grateful heart and mind can keep the doctor away? From heart disease to diabetes and other life-threatening illnesses, a positive attitude can make all the difference in your physical well-being. With the continuation of illnesses that many have suffered over the last few years, it is more important than ever […]
How To Prevent “Scary” Low Back Injuries
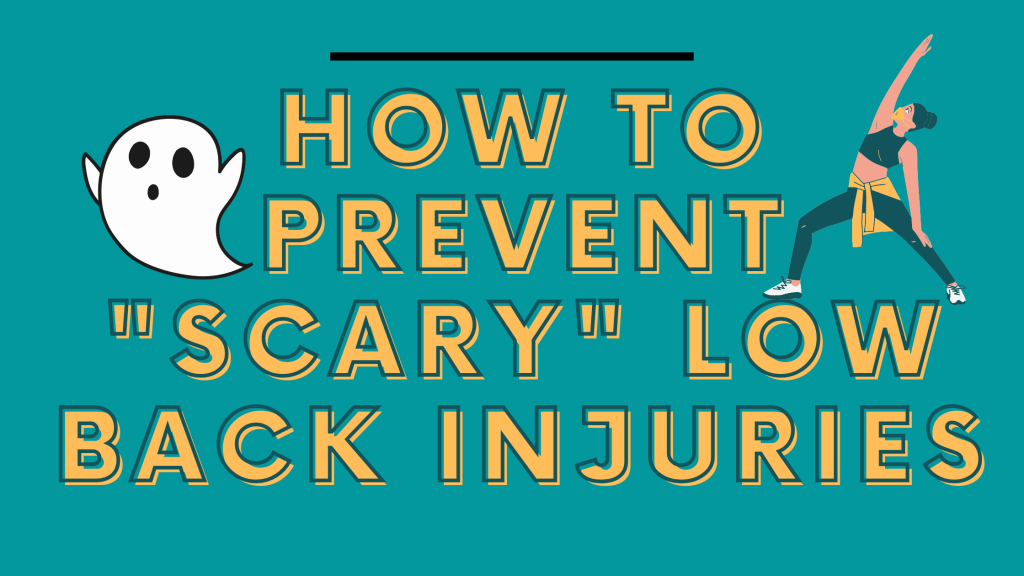
Halloween is fast approaching, and it is time to think about costumes! But before you throw a spooky yet crazy Trick-or-Treat party, ensure your back is at its best. It’s a nightmare scenario for most of us: you’re enjoying the Halloween festivities, you go to the bathroom and— bang your “back goes out!” Don’t let […]
Steps on Prepping for Football
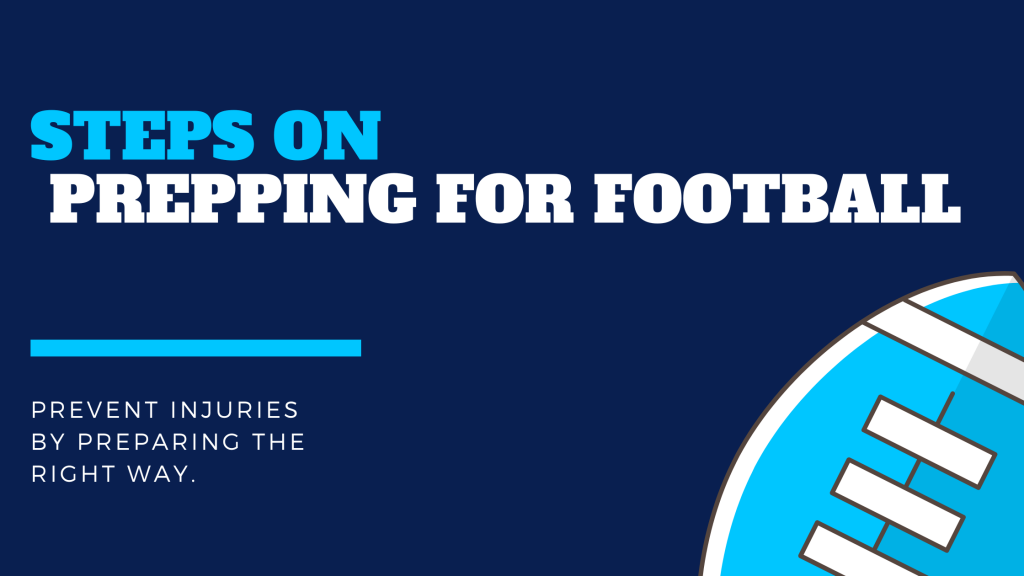
Don’t go all out for the big game without some preparation! Here’s a few exercises to get you ready for kickoff. They will help you get your heart pumping and keep your muscles loose so you can last the entire game without tiring out! Don’t go all out for the big game without some preparation! […]
Is It Important To Strengthening Your Neck for Football

Whether it’s the first ever game of your young athlete’s career or the last game of the season, it’s more than essential to ensure they’re ready for action. An athlete’s neck for football, which is an important yet most ignored body part, should be strengthened before participation in football and even in soccer to avoid […]
Understanding Carpal Tunnel Syndrome

Do you know that putting strain on your hand or wrist which causes that feeling of numbness or tingling may lead to something serious? The first clinical practice about this hand nerve weakness diagnosis was in 1854 when most patients presented themselves with motor and sensory complaints in the median nerve distribution of their hands. […]
7 Methods To Cure A Sinus Headache At Home

It starts with pressure. You feel it in your face. You feel it behind your eyes. You can’t breathe. Your upper teeth hurt. Your ears feel full. Then, the throbbing in your head begins. Oh, the throbbing! You already know what it is…another sinus headache. So, you go to your doctor who gives you a […]
How Your Chiropractor Can Treat and Prevent Sinus Infections
No one likes the constant headache, runny nose, and general misery that sinus infections bring. Chronic sinus issues can lead to other health issues and the need for multiple rounds of antibiotics, taking antibiotics over and over can reduce their effectiveness. Thankfully, there are a lot of ways you can help prevent and treat […]